> ## Documentation Index
> Fetch the complete documentation index at: https://docs.dfns.co/llms.txt
> Use this file to discover all available pages before exploring further.
# Create policies
> Replicate your internal approval and risk controls in DFNS by configuring policies for transfers, signing, permissions, and policy changes.
export const Youtube = props => {
return ;
};
Policies are a programmable set of safeguards behind all actions on the DFNS infrastructure. You can configure them to validate actions taken in your organization. For more details, please read the dedicated section: [policy-engine](/core-concepts/policies)
**Pro tip: initial policies you should create**
We recommend setting up three initial Policies in order to lock down your organization:
1. **Permission Assignment:** requiring quorum approval before assigning permissions to any user. This way a rogue admin cannot create fake users with elevated permissions by himself.
2. **Permission Modification:** ensure permission sets cannot be modified without quorum approval, to prevent a rogue actor to elevate existing roles by whitelisting extra actions.
3. **Policy Modification:** a policy preventing to change policies. That's to make sure your established policies stay in place and a quorum approval is required for modifications.
Those are actually the first 3 options available when you follow the policy creation flow on the dashboard.
In this example, we are going to control transactions whitelisting specific recipient addresses, and requiring approvals for others.
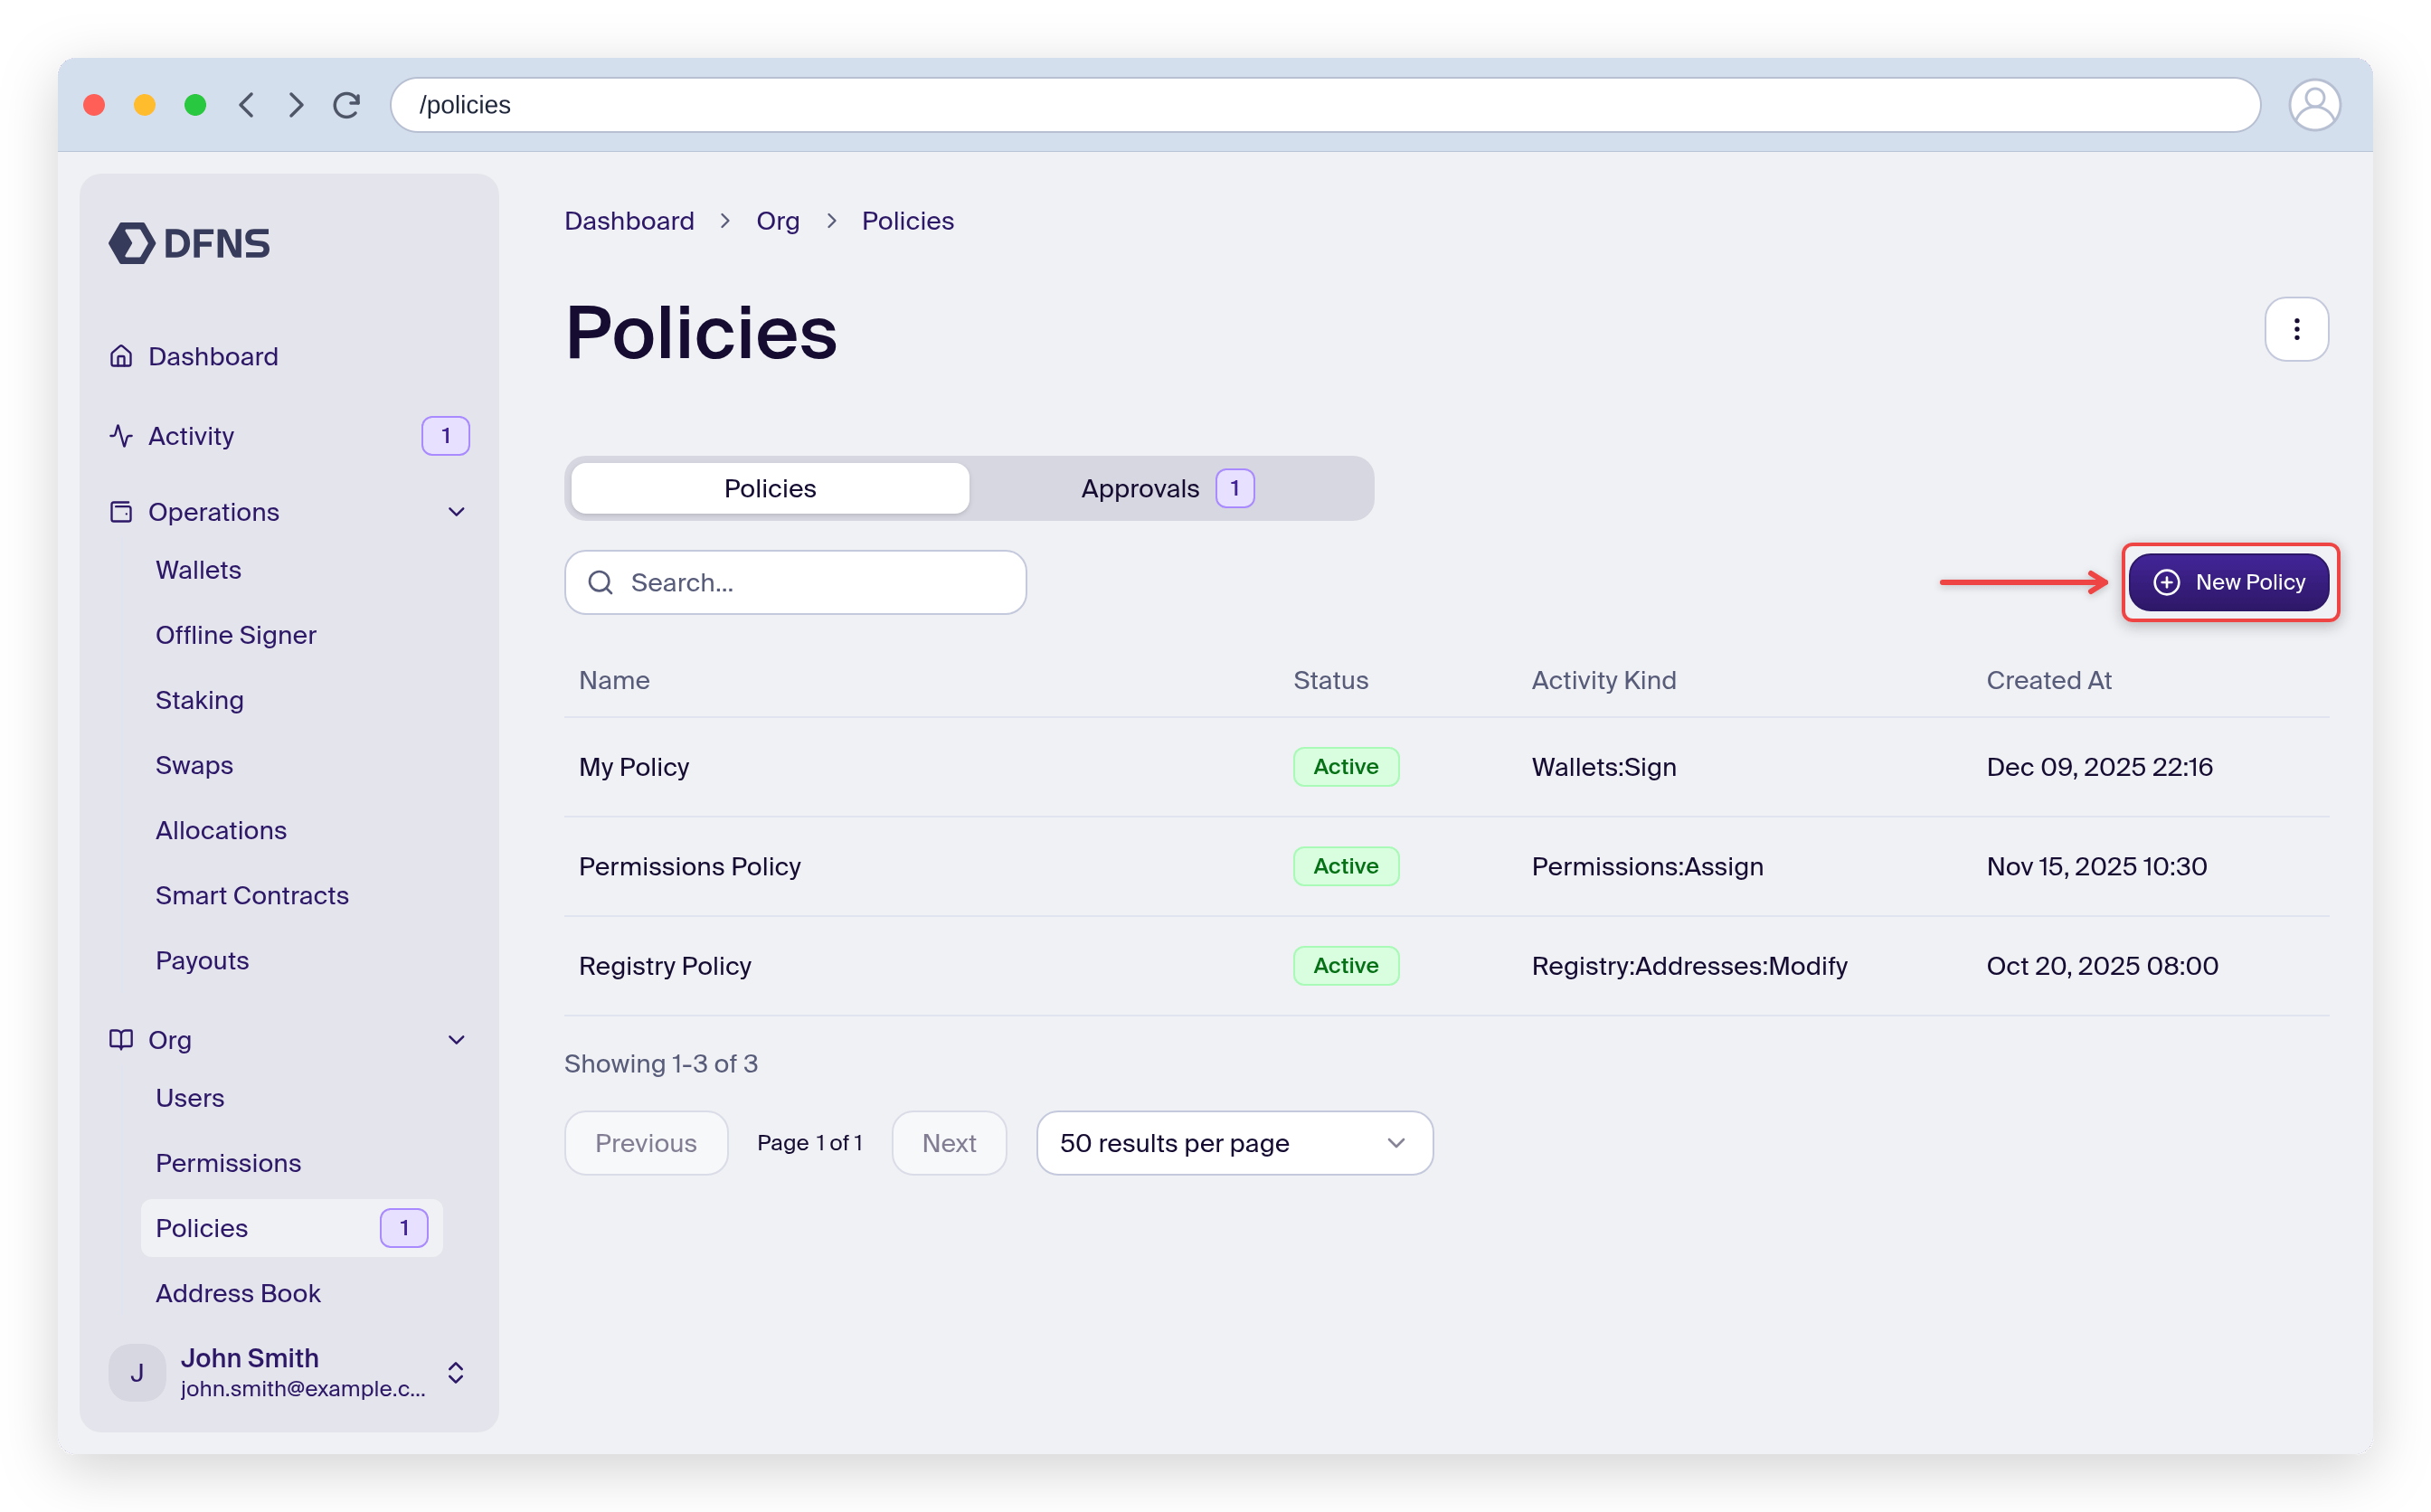
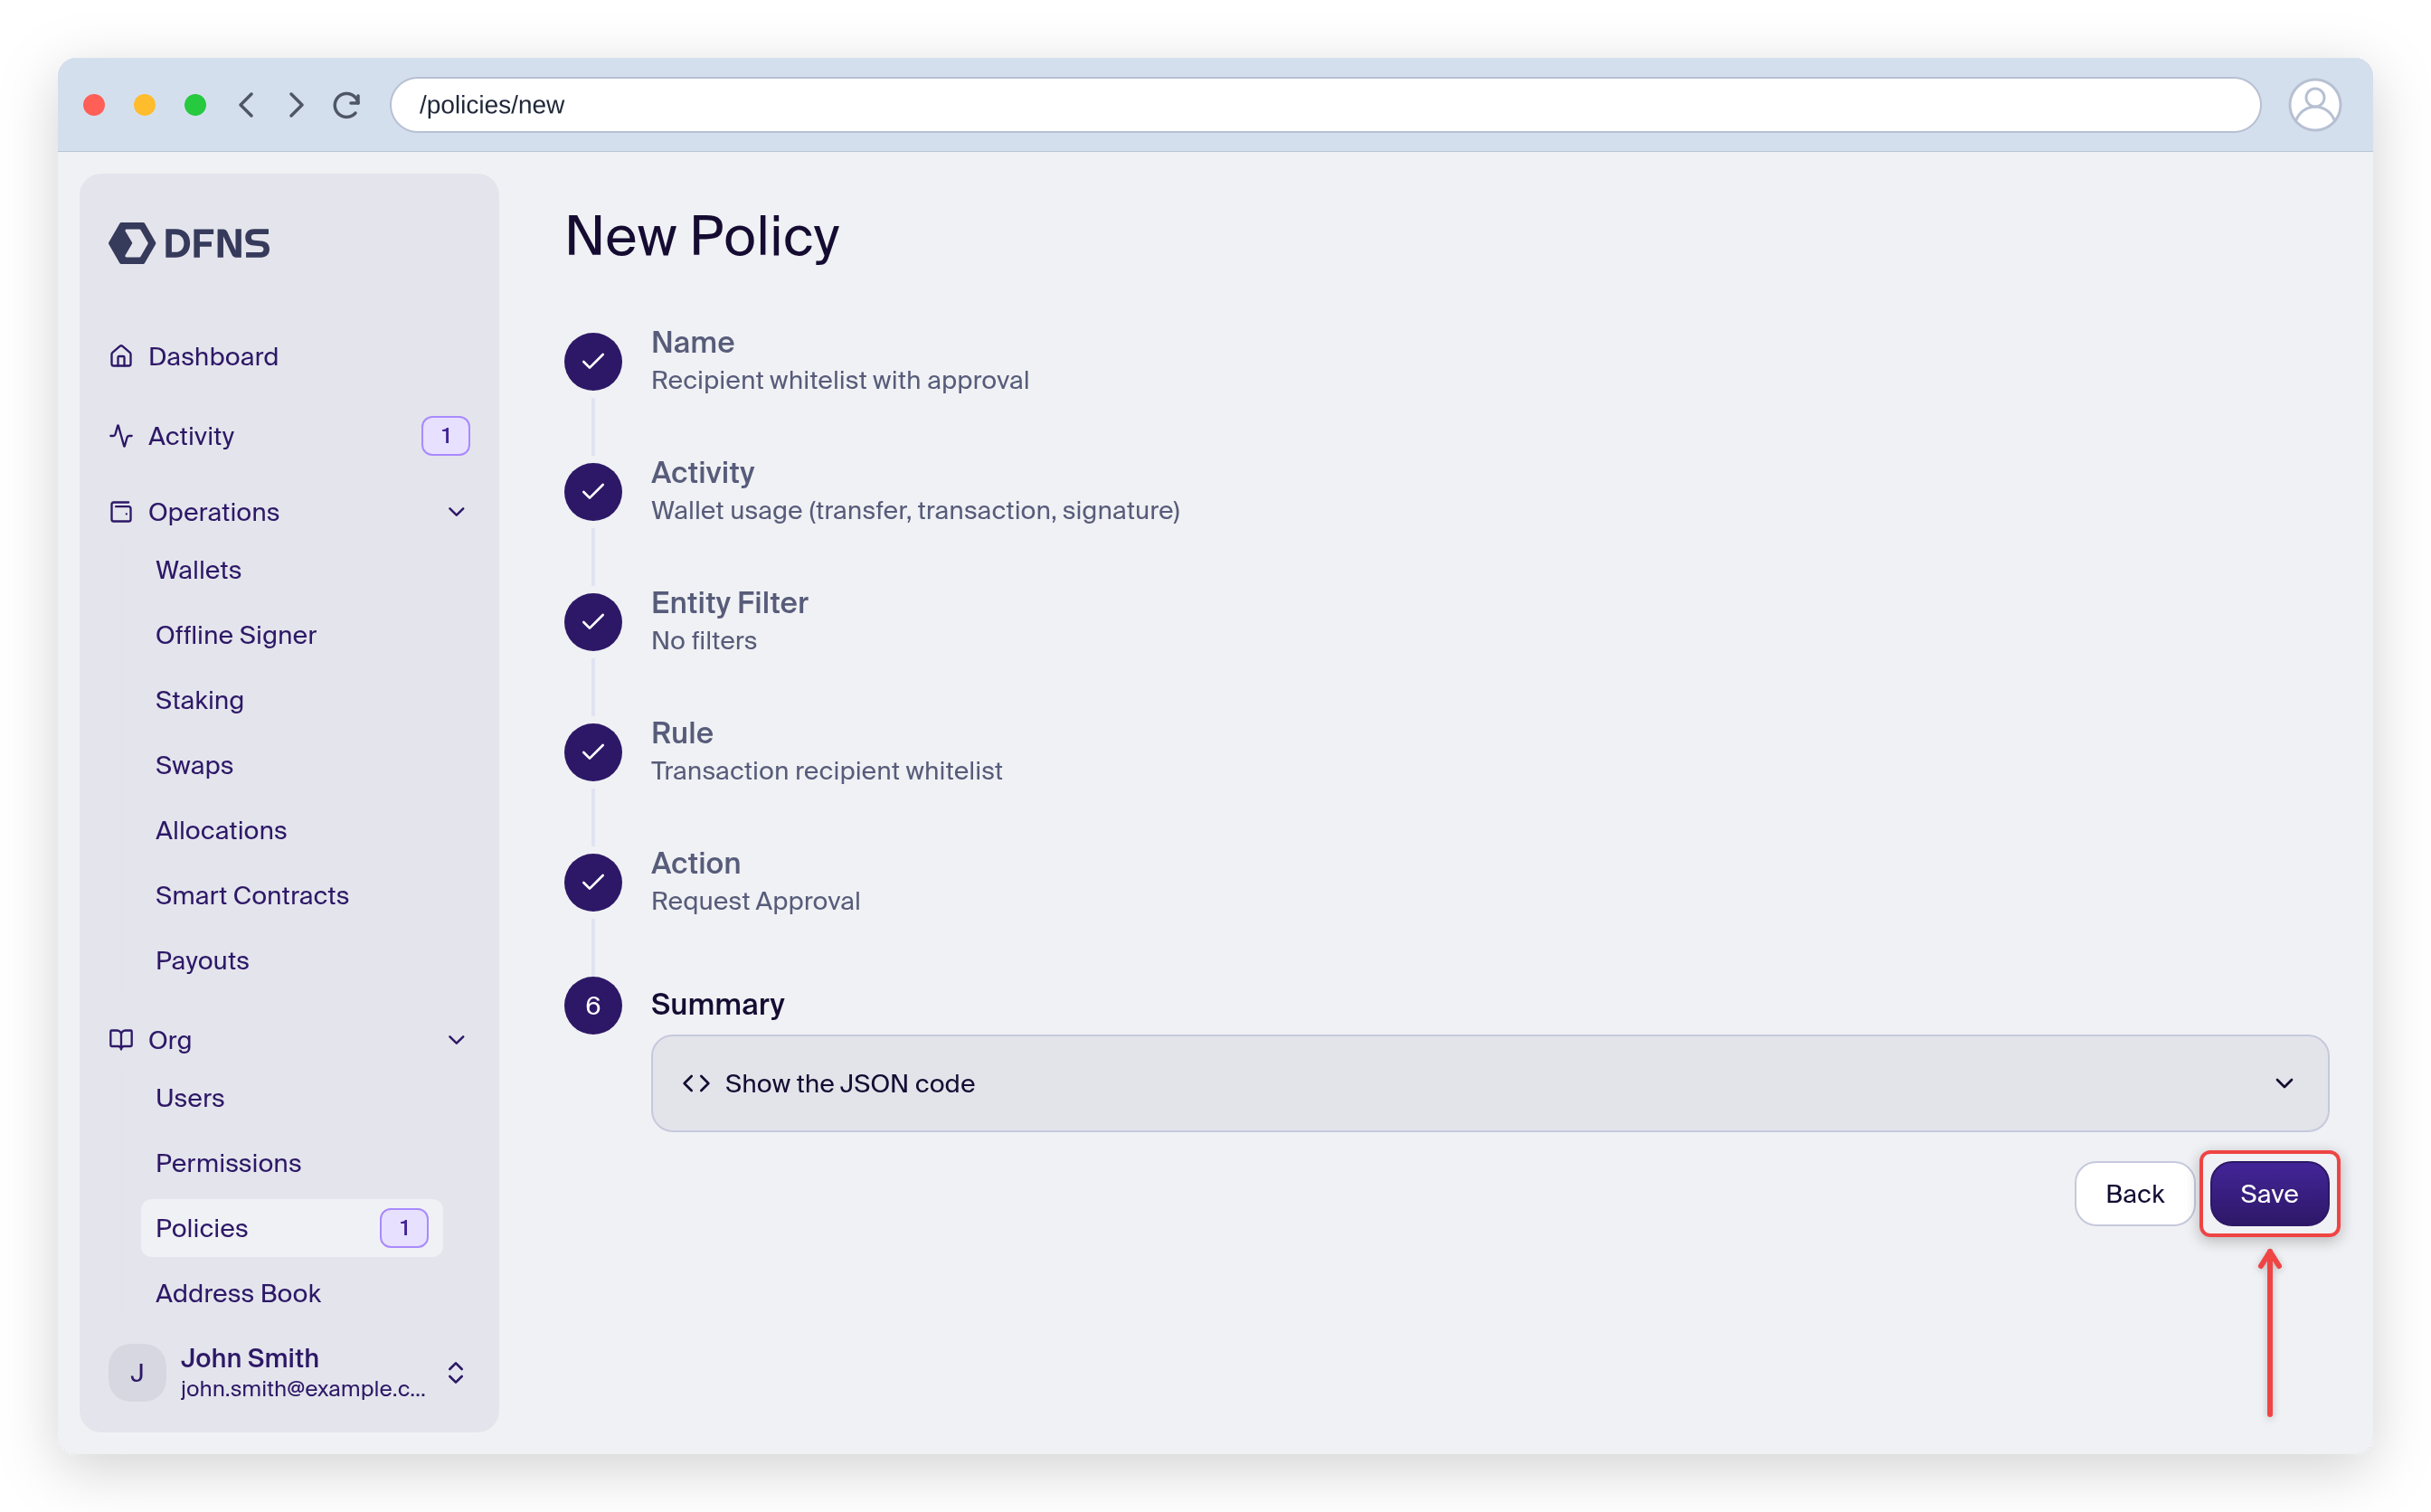
On the dashboard, head to `Org > Policies` (direct link: [https://app.dfns.io/policies](https://app.dfns.io/policies)) and click ➕ Create Policy. The wizard opens on the **Name** step: give your policy a descriptive name, then click "Continue".
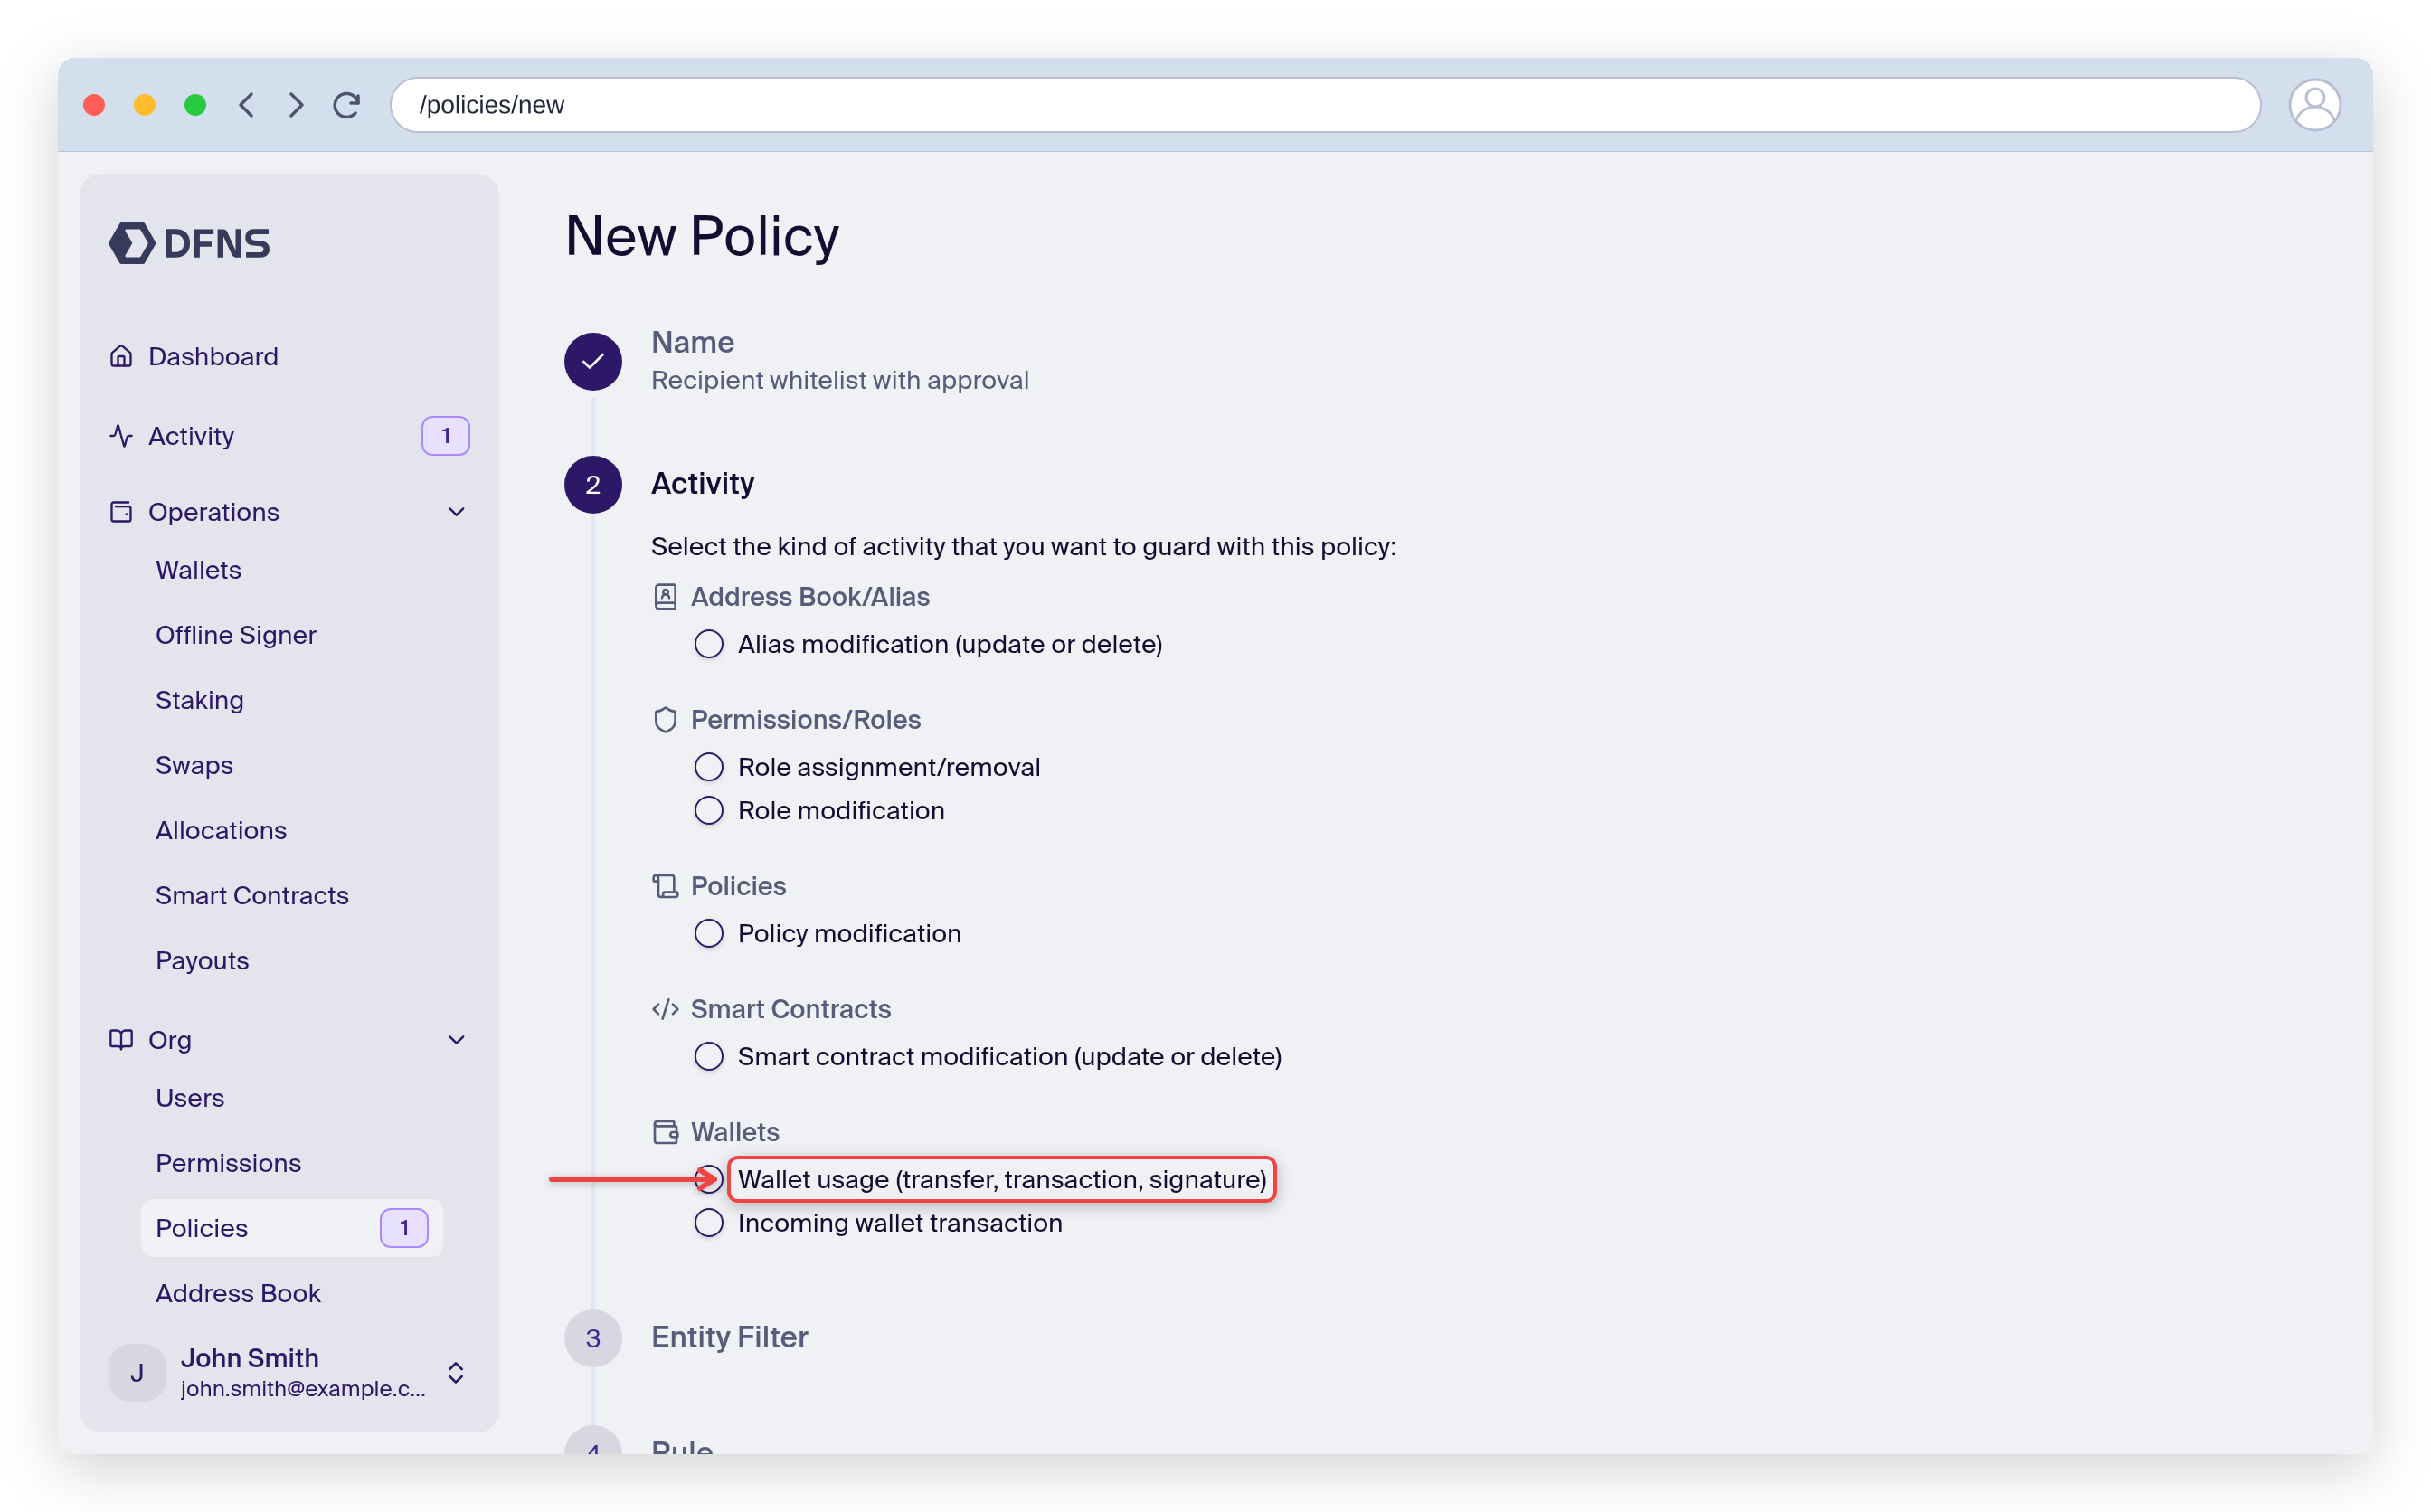
What should the policy apply on? For our example, select "Wallet usage (transfer, transaction, signature)". You can leave the optional "Entity Filter" step empty to apply the policy to all wallets.
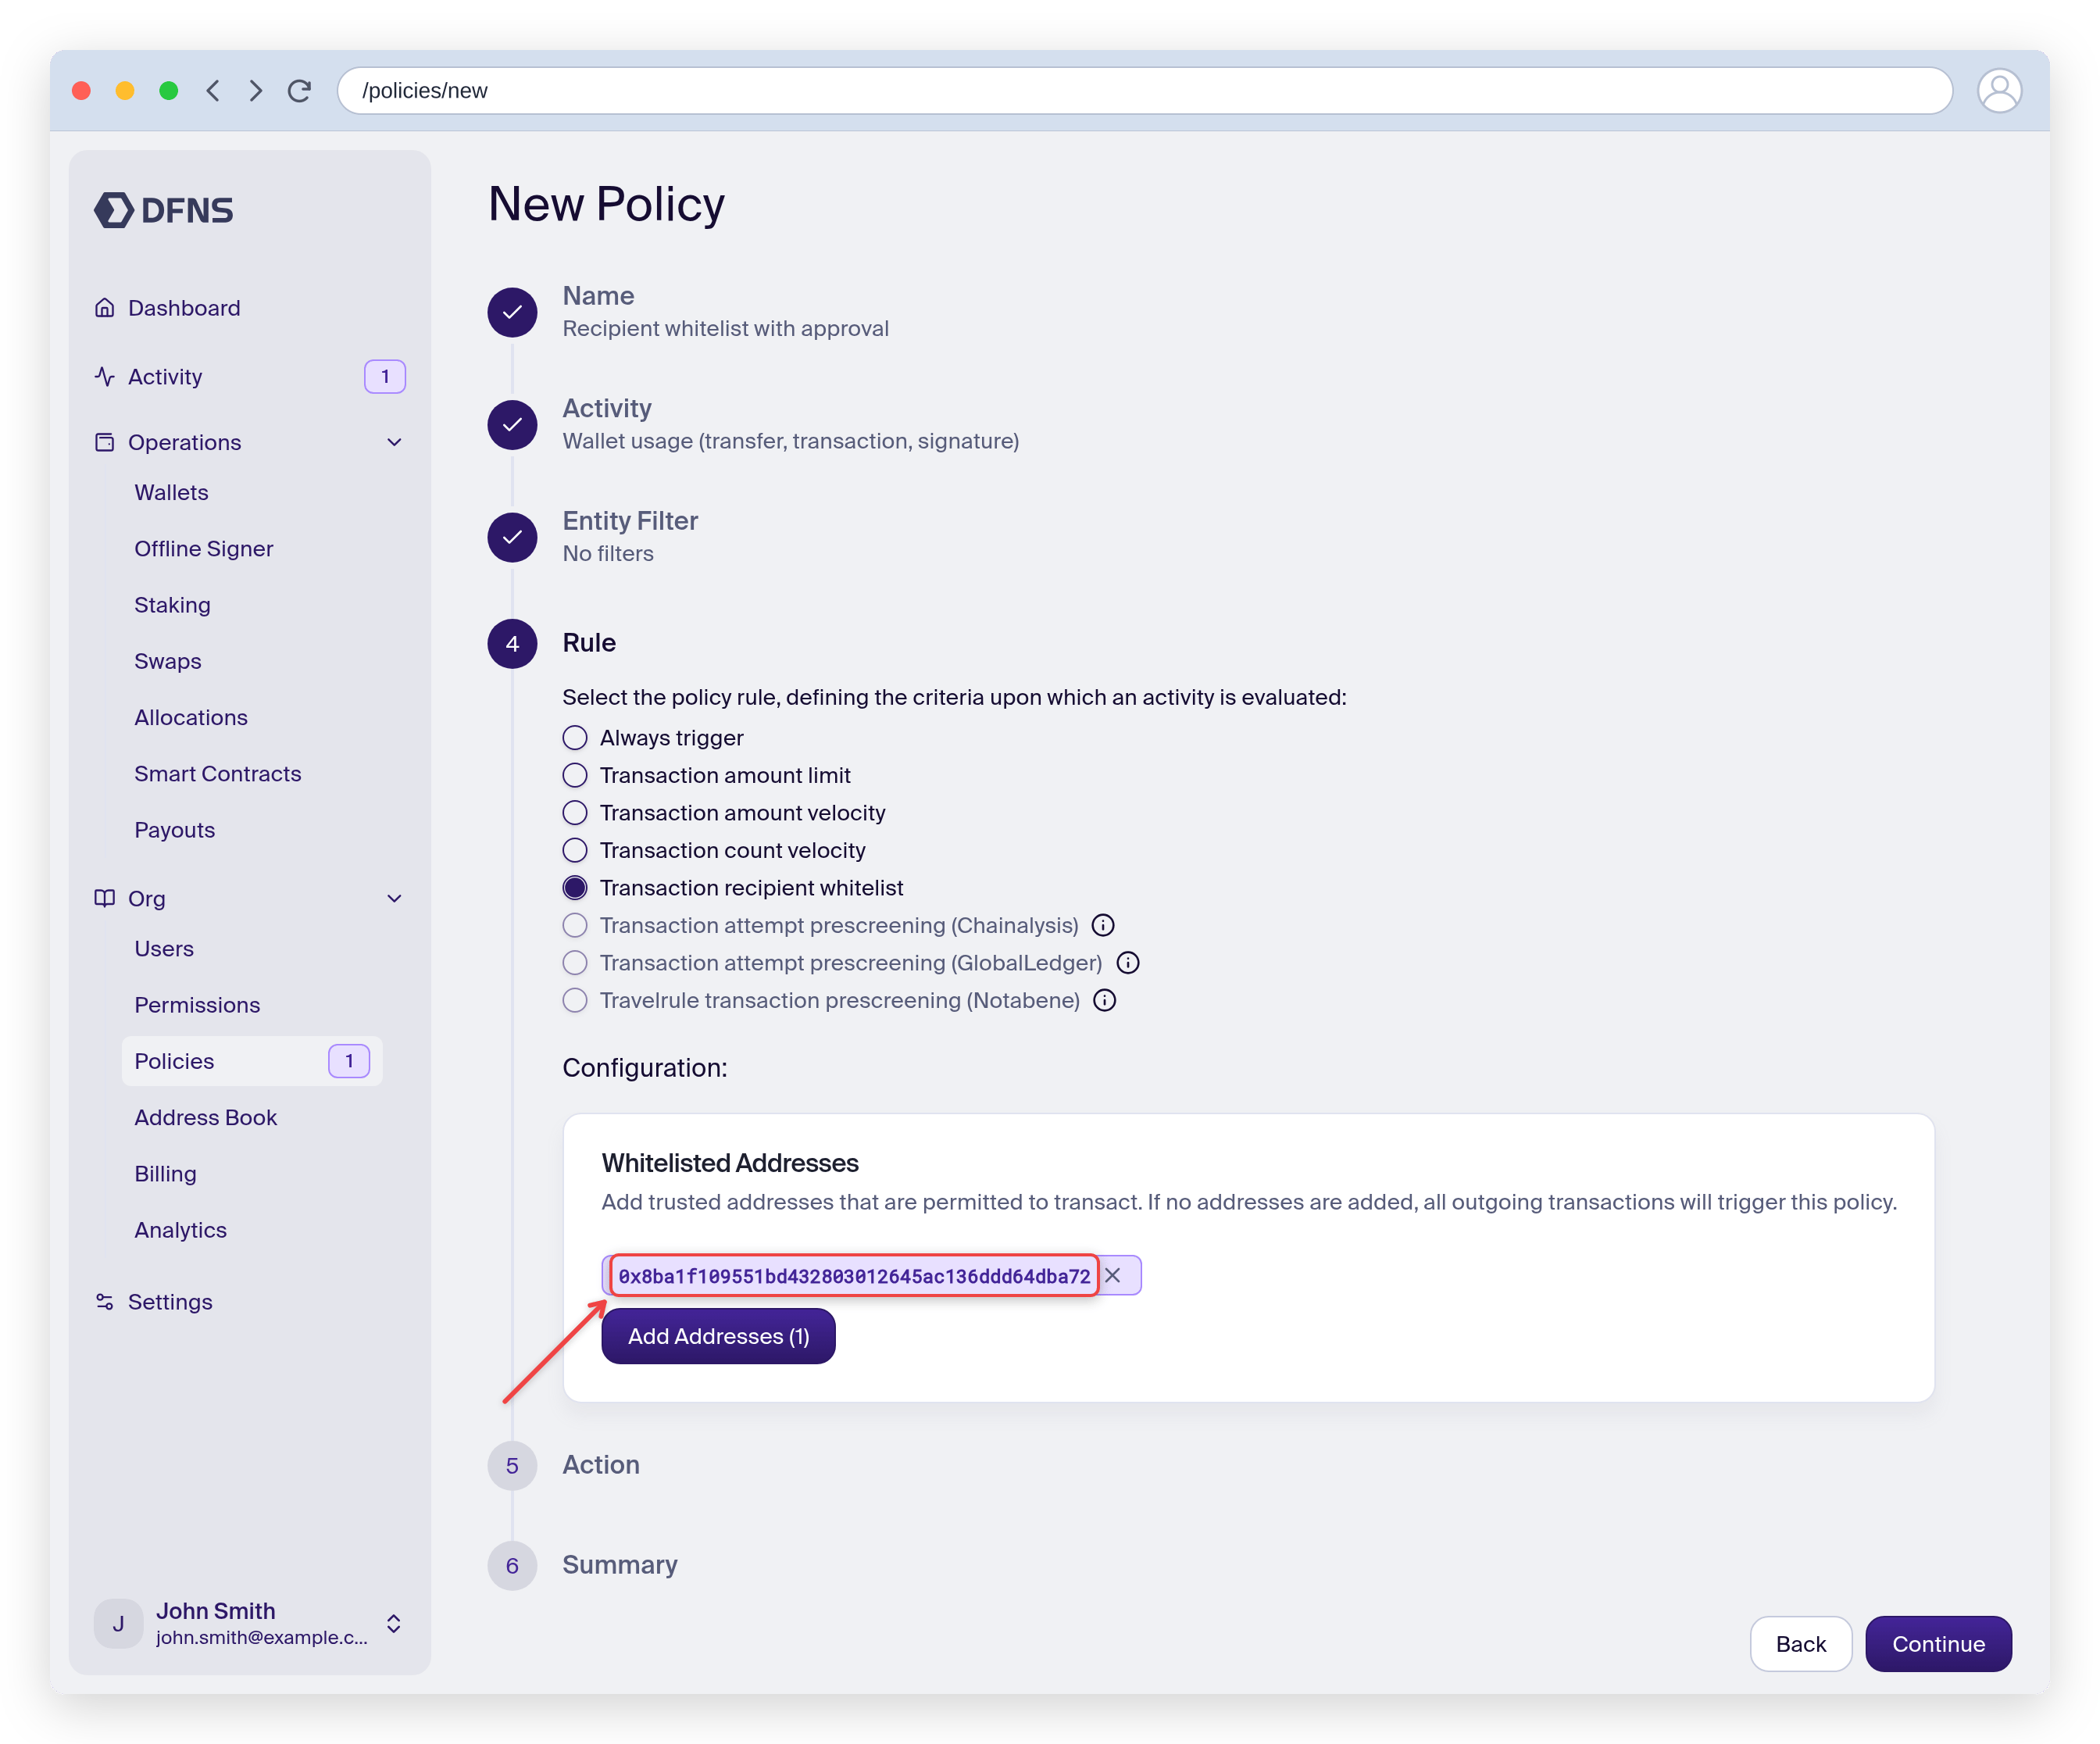
In which case should the policy trigger? For our example, select "Transaction recipient whitelist", then click "Add Addresses" and paste the whitelisted destination wallet address. All transactions to this wallet address will go through, while all others will trigger the policy.
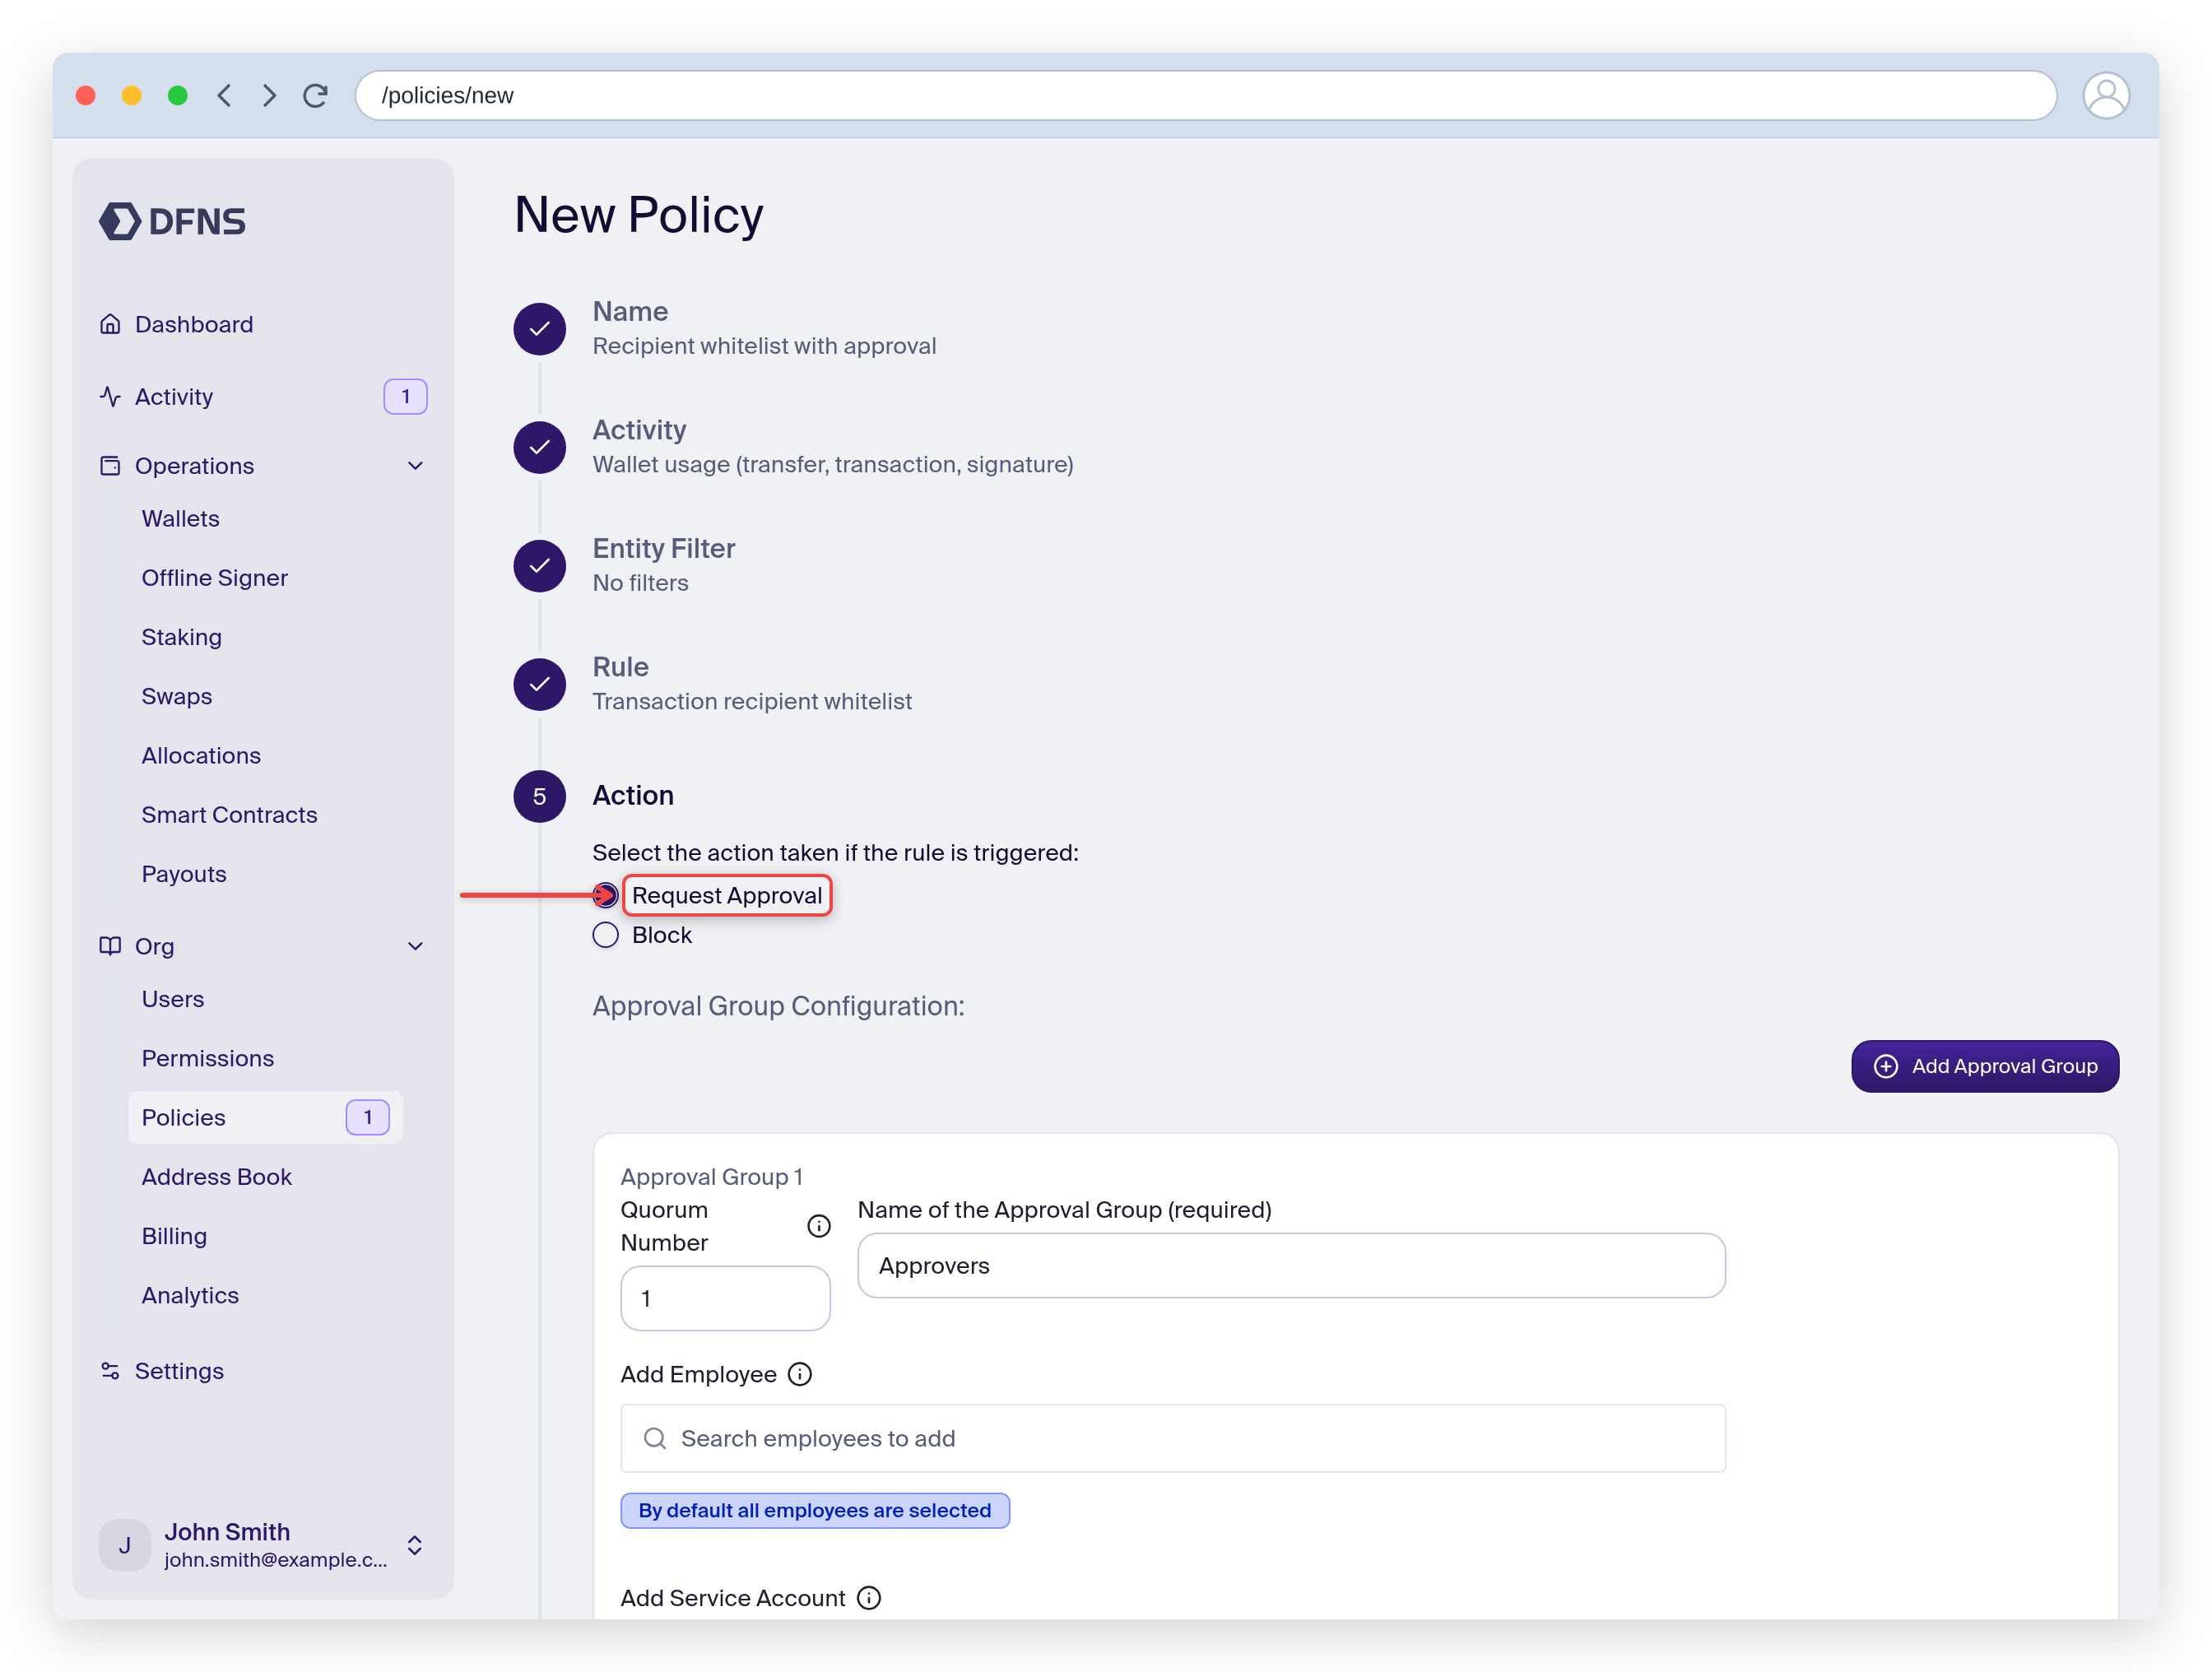
When a transaction triggers the policy filters, then there are different actions you can take. In our case, we'll request approval from another employee. Select "Request Approval", name the approval group, and set the quorum (the number of approvals required, here 1). By default all employees can approve; you can narrow this to specific employees in the "Add Employee" field.
The user triggering the action can never approve it himself. Make sure the approvers are not the same users who will issue the requests!
Continue to the **Summary** step, review the policy, then click Save and 🔑 sign the request with your passkey.
You've created a policy requiring approval from your coworker on transaction requests, except transfers to the designated wallet. Refine these rules and add as many as you need to match your internal policies and safeguards.